Start the PC-DMIS application.
Open the 3Dconnexion Control Panel by double-clicking
the 3DxWare icon  located on your
system tray.
located on your
system tray.
Start the PC-DMIS application.
Open the 3Dconnexion Control Panel by double-clicking
the 3DxWare icon located on your
system tray.
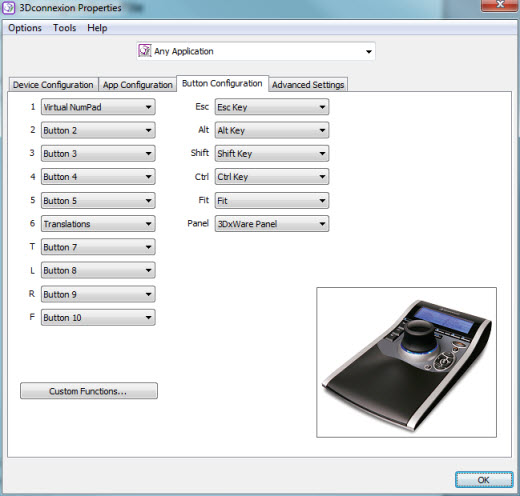
3Dconnexion Properties dialog box
See if the Application drop-down list in the top-center of the 3Dconnexion Properties dialog box contains an entry for something like "WAI Applications".
If "WAI Applications" is available, then select it as the current configuration, and follow the information in the topic "Assigning Functions to Buttons on 3Dconnexion 3D Mouse Devices". Otherwise, continue with this procedure.
If "WAI Applications" is not available, and you only see "Any Application", select File | Save As and save the name of the "Any Application" configuration to "My PC-DMIS", "WAI Applications", or whatever you like. This configuration will be used by PC-DMIS to define the rotation speed and other settings.
Close the 3Dconnexion Properties dialog box.
Close your PC-DMIS application.
Navigate to this directory, where <user> is your Windows user name:
C:\Users\<user>\AppData\Roaming\3Dconnexion\3DxWare\profiles
Using a text editor (such as Microsoft WordPad or Notepad), edit the most recent "user??.scg" file (for example, user00.scg).
In the "[IDENTIFICATION]" section of this file, verify this is the file you just saved by comparing the "APPLICATION_NAME" to what you entered in step 2c above. Note that a comma might be preceded by a backslash (\).
[IDENTIFICATION]
APPLICATION_NAME = "My PC-DMIS"
In the "[CONFIGURATION]" section, edit the "APP_CONTROLS_BUTTONS" and "EXECUTABLES" values to enable them for use with the PC-DMIS executable.
[CONFIGURATION]
APP_CONTROLS_BUTTONS = TRUE
EXECUTABLES = { "PCDLRN.exe"}
As you can see, the above "EXECUTABLES" indicates that this configuration file is used by PC-DMIS.
Save and close the file.
You can now map custom functions to your device's buttons by following the information in the "Assigning Functions to Buttons on 3Dconnexion 3D Mouse Devices" topic.