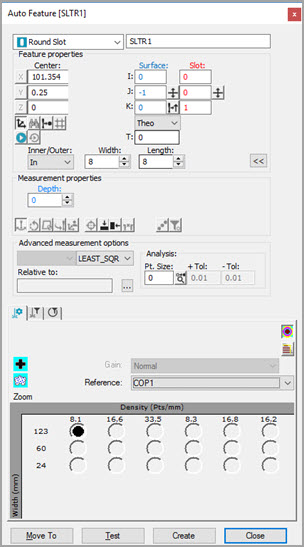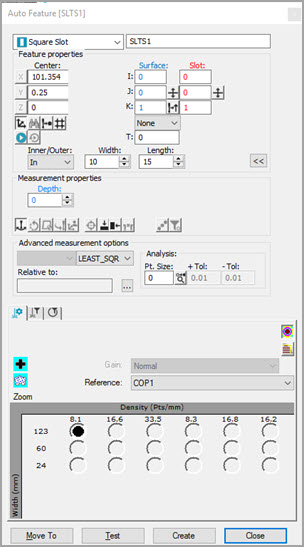


Auto Feature dialog box - Round Slot (left) and Square Slot (right)
To measure a slot with a laser sensor:
Access the Auto Features dialog box (Insert | Feature | Auto), and select Round Slot or Square Slot.
Do one of the following:
Click on the CAD to collect the X, Y, Z, I, J, K information:
For Round Slots:
Click one of the rounded edges of the slot in the Graphic Display window. PC-DMIS prompts you to click two more times on the same rounded edge.
Click twice on this edge. PC-DMIS then prompts you to click on the other rounded edge.
Click on the other rounded edge. PC-DMIS prompts you to click two more times on that same rounded edge.
Click twice on the second rounded edge. PC-DMIS establishes the orientation of the round slot.
For Square Slots:
Click on one of the long edges of the slot in the Graphic Display window. PC-DMIS prompts you to click another location on the same edge to determine the direction.
Click on a second edge, 90 degrees from the first.
Click on the third edge, 90 degrees from the second. This sets the width.
Click on the fourth edge and final edge. This sets the length.
From the Graphic Display window, use the Laser tab, and move the machine to the slot location.
Next, from the Feature Properties area,
click the Read Point from Position button
( ).
).
Manually enter the theoretical X, Y, Z, I, J, K, width, length, depth, height, and other parameters.
Enter the necessary information in the Probe Toolbox tabs. Cycle through the Laser Scan, Laser Filtering, and Laser Clipping properties tabs to enter the information.
If desired, click the Test button to test the feature.
WARNING: When you do this, the machine moves. To avoid injury, stay clear of the machine. To avoid hardware damage, run the machine at a slower speed.
Click Create and then Close.
More: