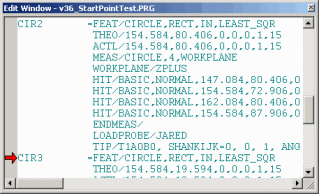
Edit window with start point (red arrow)
You can only set start points when the Edit window is in Command mode (see "Working in Command Mode" in the "Using the Edit Window" chapter).
When you insert a start point into the measurement routine and then select File | Partial Execution | Execute From Start Points, PC-DMIS begins the measurement routine execution from the first start point instead of starting the execution flow at the beginning of the measurement routine.
Be aware that if the current tip for that location in the measurement routine does not match the current orientation of the probe head, PC-DMIS does not try to and go back to execute the tip command above it in order to change the tip orientation.
Start points are especially useful if you are working in Multiple Arm mode and you need to set a different start point for each arm (see the "Using Multiple Arm Mode" chapter).
To insert a start point into your measurement routine, click the location in the Edit window where you want the start point to appear, and then select the Set Start Point icon from the Edit window toolbar. Or, right-click in the Command mode and select Set Start Point from the shortcut menu.
You can also enable start points to always track the execution of a measurement routine (see "Start Points Always Track Execution" in the "Check Boxes for the General tab" chapter).
For more information, see "Setting Start Points for Multiple Arms" in the "Using Multiple Arm Mode" chapter, and "Edit Window Toolbar" in the "Using Toolbars" chapter.
