It's often useful to add your own notes to a report after it has executed. One way to add notes is to use PC-DMIS's standard Comments functionality and allow PC-DMIS to display the comments in the Report window. But this approach has some limitations. Displaying comments only works on report templates that use the TextReportObject. Besides, by default, standard comments aren't very visible, and they only appear within the TextReportObject at the location they were executed. Also, you aren't able to easily edit them after they're on the report. For information on comments, see "Comments" in the "Using the Edit Window" chapter.
However, if you want more flexibility, consider the option of adding a note box into which you could type your notes directly onto the final Report. The following steps provide you with a procedure on how to do this:
Step 1: Create the Note Box
To create a note box, create a new label template inside the Label Template Editor, and drag a Text object onto the editing area. Format the object with font size, font color, background color and borders as desired. If you want your note box to be transparent, select the NIL background color. Set the object's Text property to hold this value: "Right-click here and select Edit Object to modify this note text." Save your label template.

A new label template named notes.lbl
(A) - Right-click here and select Edit Object to modify this note text.
Step 2: Tie the Note Box onto the Report Template
Open up a report template inside the Report Template Editor that you can edit. Drag a Label object onto the editing area, and position it more or less where you want the note box to appear. You can change its final position in the Report window.

A label object added onto a TextAndCad Report
Step 3: Tell PC-DMIS When to Display the Note Box
Right-click on the label object to access the Properties dialog box, and then click Rules to bring up the Rules Tree Editor. The new label object does not yet have any rules. Add a rule for the Default item at the top of the tree, and have the rule pull in the label template you saved in Step 1. This action causes the label template containing your note box to show up on every page of the report. Save your changes.

A rule specifying to load notes.lbl assigned to the Default item
Step 4: Test the Report
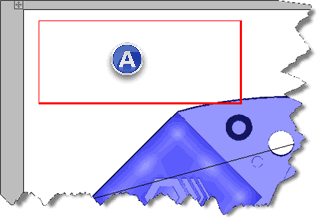
Access the Report window and load in your modified report template. Notice that your note box appears with the instructions on how to change its default text. Double-click to activate the object and drag it to a new location if desired.

A note box with default text
(A) - Right-click here and select Edit Object to modify this note text.
Step 5: Modify the Note Box Text
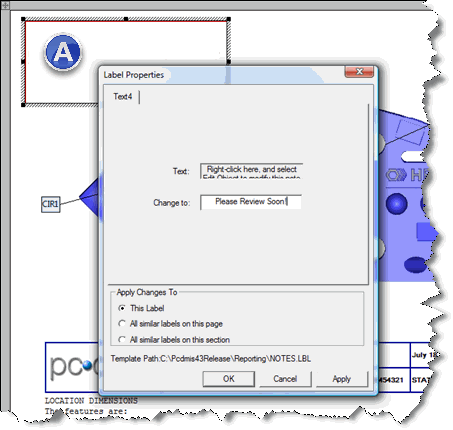
To change the text in the note box, right-click the object and select Edit Object. A Label Properties dialog box appears.

The Label Properties dialog box
(A) - Right-click here and select Edit Object to modify this note text.
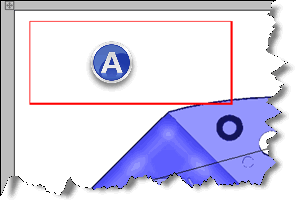
Type your new note text in the Change to: box and click OK. PC-DMIS updates your text.

A note box with updated text
(A) - Please Review Soon
And that's all there is to it. Of course, you can modify the note box to better suit your needs. For example, if you wanted a table-like structure in your note box, on Step 1, instead of a single text object in the label template, you could add in a GridControlObject into the label template and then overlay the cells with Text objects.
If you wanted to show only the note box based on certain conditions, you could change the rules used in the Rules Tree Editor in Step 3. For example, if you only wanted the note box on the first page of your report, you would use the File Header item instead.