Inside the Custom Report Editor ( File | Reporting | New | Custom Report ), you can position objects by dragging objects where you want them or by using the appropriate alignment icons from the editor's Layout Bar.
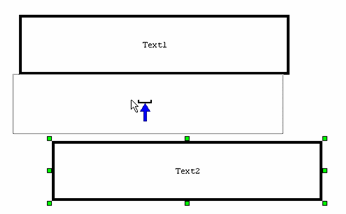
In addition, PC-DMIS provides a useful tool to essentially snap an object below an object above it. To do this, slowly drag an object so that its top and left edges are more or less aligned with another object's bottom and left edges. Your mouse pointer will change to include a small blue arrow: This arrow indicates that the object's left side you are positioning will be aligned with the object's left side above it.

Aligning Objects Using the Blue Arrow
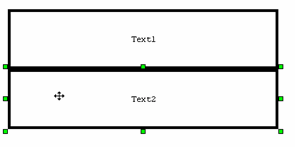
When this arrow appears, you can release you mouse button, and the object you are dragging will align itself to the other object:

Objects Are Aligned
The blue arrow can also help with dropping an object precisely under another object. Simply drag the object over an existing object until green handles appear around the existing object, then drag the mouse slightly under that object until the blue arrow appears. Release the mouse when it appears, and the dropped object will appear aligned to the other object.
This allows you to create a list of objects without white space in between, useful when aligning a list of labels containing your feature or dimension data.