When you create a new custom report using the Custom Report Editor (File |Reporting |New |Custom Report), the editing area is blank. No objects exist in the editing area except for the editing area itself. The editing area is actually a Page object, and its properties can be modified as with any other object. Simply right-click on the object and select Properties.
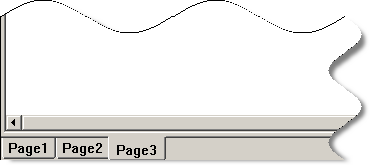
Similar to Section tabs in the Report Template Editor, you can create multiple Page tabs (Page objects) in the Custom Report Editor. To do this, right-click on the tab and select Add Tab from the popup menu. An additional tab appears at the bottom of the editing area:

Example of Multiple Page tabs
This will create additional reporting pages that will later appear in the Report window. While similar to Section tabs, Page tabs reflect a single additional page in your final report, whereas a single Section tab may actually end up displaying multiple pages in the final report depending on any defined rules for objects in that section and the length of your measurement routine.
You can size your Page objects to meet different needs. For example, you can modify one page's properties to display its contents in a standard Portrait format and another page's properties to display its information in a Landscape format or to match printer or page settings for a specific locale.
You can easily reorder pages as well. To do this, right-click on a Page tab, and select either Move Right or Move Left. The tabs at the bottom of the Editing area will be reordered accordingly.
From the Report window's preview pane, you can also create and reorder pages. From that pane, you can drag and drop objects to move them from one page to another. For more information, see "Working with the Preview Pane".