
The GridControlObject icon inserts a customizable grid of columns and rows into your report or label template.

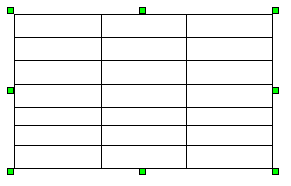
A Newly Inserted Grid Control Object
This unique object is more than just a standard table, though. In fact, you can program the individual cells, rows, or columns using the reporting expression language to cause PC-DMIS to pull and display specific reporting information from your measurement routine.
As with the other objects, you can easily resize and move this object to a new location. When you resize this object, be aware that PC-DMIS dynamically sizes the columns and rows to fit the new object's size.
Accessing the GridControlObject Editor
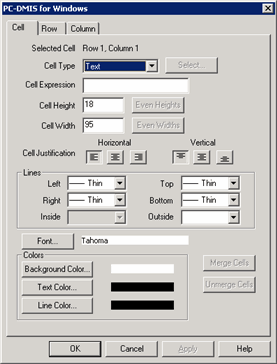
Once you insert a GridControlObject, select it, double-click inside any cell, and then right-click to display a tabbed dialog box. This dialog box gives you powerful formatting and editing abilities that let you program each grid cell to your individual specifications.

Cell tab of the GridControlObject's Editor
See these topics for information on using this editor:
Properties
NumColumns
Determines the number of columns in the grid.
NumRows
Determines the number of rows in the grid.
TableFormat
Specifies a grid layout name to use. If this property matches the grid
layout name in the Rules Tree Editor, then you
can use the TABLE/FORMAT Edit window
command to directly control row and column order and visibility for your
label template.
Transparent
Determines whether or not the grid's background is transparent. If set
to Yes, the usual white background color
becomes transparent; other objects behind this object are then visible
through the grid.
Increasing the NumRows property adds new rows to the bottom of the available rows. Decreasing them will delete the bottom-most row and work up. Similarly, increasing the NumColumns property adds new columns to the right of the available rows. Decreasing the number of columns will delete the right-most column and work left.