
Prerequisites: RomerRDS Software Version 3.2 (drivers), Romer RDS arm with integrated camera.
If you meet the above prerequisites, you can use the RomerRDS integrated camera to take images of your part and add them into the supported PC-DMIS Comment commands. You can access this functionality from the Comment dialog box (Insert | Report Command | Comment).
Comment dialog box showing the Grab Image button
To capture a frame from the video stream as an image file, follow these steps:
Click Grab Image. PC-DMIS starts the RDS video capture sequence and displays the current video stream in an RDS Video capture output window.
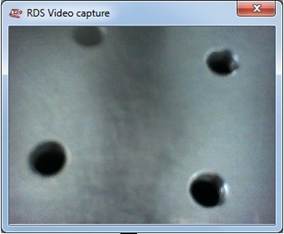
RDS Video capture output window
Position the arm so that the feature of interest displays in the window.
Once the feature displays, press the middle "Hit" button on the arm to capture a frame from the video stream and display the Save As dialog box.
Type in a descriptive name for the image, and navigate to where you want the image saved. Press OK to save the captured frame as a .jpg file.
PC-DMIS comments only support the JPEG image format.
Modifying Image Properties
If needed, you can view and change image properties, such as image resolution, image format, and so on by using the RDS Control Panel software. You can also use this control panel to start or stop the integrated Romer head light as needed (if available).
The RDS Control Panel comes bundled with the PC-DMIS installation.
To access this control panel, right click on the RDS icon in your system tray.

From the shortcut menu that appears, choose RDS Control Panel.
The RDS Control Panel opens.
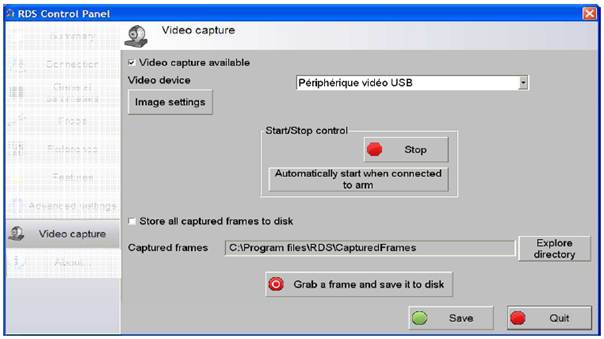
RDS Control Panel software with Image and Video Capture settings
Click the Image Settings button on the control panel to view or change the settings. Consult the documentation that comes with the RDS Control Panel as needed.