Access the Probe Utilities dialog box (Insert | Hardware Definition | Probe).
Select No probe defined in the Probe description area.
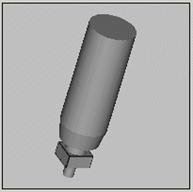
Select the probe from the Probe description list. This documentation uses the PROBETP2 probe. The probe drawing should look something like this:
Probe drawing
Hide the probe from view. To hide it, double-click on the PROBETP2 connection in the Probe description area and deselect the Draw this component check box.
Select Empty Connection #1 in the Probe description area.
Select the 5-way cube extension, EXTEN5WAY, in the Probe description list. Five empty connections appear in the Probe description area. The probe drawing shows this:
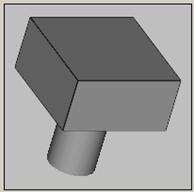
Probe drawing
Assign the appropriate tips and or extensions needed for each Empty Connection until you have up to five total tips, such as shown here:
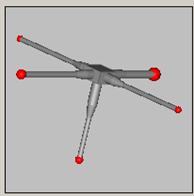
Five total tips
You don't have to fill all five connections.
The tip assigned to Empty Connection #1 points in the same direction as the rail on which it rests. This is the Z- direction.
The tip assigned to Empty Connection #2 points in the X+ direction.
The tip assigned to Empty Connection #3 points in the Y+ direction.
The tip assigned to Empty Connection #4 points in the X- direction.
The tip assigned to Empty Connection #5 points in the Y- direction.
Click OK to save your changes, or click Measure to calibrate the probe. For information on how to calibrate the tips, see "Calibrating Probe Tips".