Access the Probe Utilities dialog box (Insert | Hardware Definition | Probe).
Type a name for the probe file in the Probe file box.
Select No probe defined in the Probe description area.
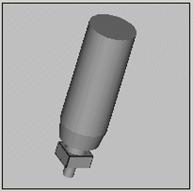
Select the probe in the Probe description list. This documentation uses the PROBETP2 probe. The probe drawing should look something like this:
Probe drawing
Hide the probe from view. To hide it, double-click on the PROBETP2 connection in the Probe description area and deselect the Draw this component check box.
Select Empty Connection #1 in the Probe description area.
Select either 2BY18MMSTAR or 10BY6.5STAR. This documentation uses the 2BY18MMSTAR. The probe drawing displays something like this:

Probe drawing
For each of the four Empty Connection items in the Probe description area, select the same probe tips four times, once per each horizontal tip. In this case, you could select either TIPSTAR2BY30 or TIPSTAR2BY18 four times. This documentation uses the TIPSTAR2BY30.
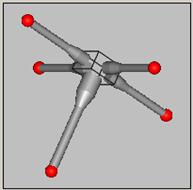
Drawing
Click OK to save your changes, or click Measure to calibrate the probe. For information on calibrating tips, see "Calibrating Probe Tips".