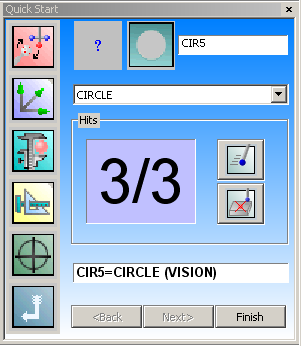
PC-DMIS Vision automatically determines what type of feature to add to your measurement routine. Based on the hits taken, auto features are guessed when the Quick Start window is open. The example below shows the process of guessing a vision Auto Circle feature but would be similar for any of the supported features (Edge Point, Line, Circle, Round Slot, Square Slot, or Notch Slot).
To measure vision Auto Circle using Guess mode, follow these steps:
Select the View | Other Windows | Quick Start menu option to open the Quick Start window.

Quick Start window
Take your first hit on the edge of the circle feature with your machine's jog box. You can also click the feature's edge in the Vision tab. The Quick Start window updates and shows one hit (1/1) in the buffer and the guessed POINT feature.
Take a second hit in the same way as the first hit but in another location along the edge of the same circle. The Quick Start window updates and shows two hits (2/2) in the buffer and the guessed LINE feature.
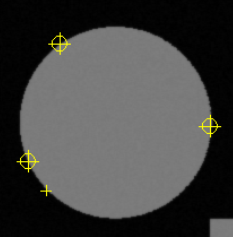
Take a third hit in the same way but in another location along the edge of the same circle. The Quick Start window updates and shows three hits (3/3) in the buffer and the guessed CIRCLE feature.

Guessed measured circle hits
Click the Erase Hit
button  if you
are not satisfied with the location of any of your hits. The hit is
removed from the buffer. Repeat steps 2 through 4 to re-measure the
circle.
Once the desired feature has been guessed, click Finish. The software adds the feature to your measurement routine.
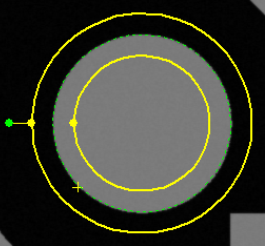
To display the feature target, on the Vision tab of the Graphic Display window, click
the Show Target  button (see "Live View"). Right-click
the target to perform common target-parameter changes from the pop-up
menu (such as point density, edge selection type, insert target).
For information, see "Using
Shortcut Menus".

Circle target in the Live View
To edit the parameters for the feature, in the Edit window, press F9 on the new Auto feature command.