The calibration process for the Renishaw ACR3 Probe Changer represents the steps that you would take to prepare to use any of the probe changers that PC-DMIS supports. The process discussed here is specific to the ACR3 Probe Changer.
No inserts are used for any of the port positions. However, if you intend to use probe extensions in any of the ports, you must define them as part of the port type before you begin.
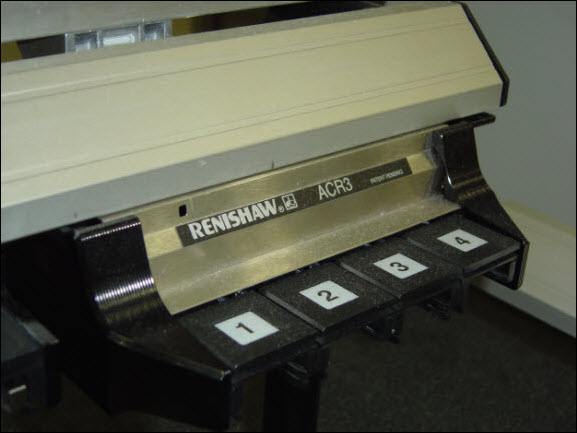
Renishaw ACR3 Probe Changer rack
This probe changer MUST BE mounted on the machine table parallel to either the X or Y axis for successful calibration. For mounting instructions, consult the documentation that came with your probe changer.
 Caution
about Adaptors with an HP-L laser
Caution
about Adaptors with an HP-L laser
To calibrate your probe changer:
Step 1 - Select the ACR3 Probe Changer
Step 2 - Define the Mount Point
Step 4 - Prepare for Calibration
Step 5 - Take the First Manual Hit
Step 6 - Take the Second Manual Hit
Step 7 - Remove the Setting Gauge and Attach the Probe
Step 8 - Take the First Manual Probe Hit
Step 9 - Take the Second Manual Probe Hit
Step 10 - Slide the Probe Rack to the Right Side of its Travel Range
Step 11 - Move the Probe Head into Port #4
Step 12 - Review the Calibration Results
WARNING: At different times throughout this procedure, the machine moves in DCC mode. When this happens, to avoid injury, stay clear of the machine. To avoid hardware damage, run the machine at a slower speed.
