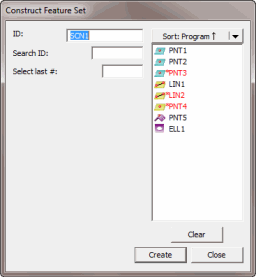
Construct Feature Set dialog box
The Set menu command allows you to construct a set of features. This is done by selecting (or keying in) all the features to be used in the set. When you click the Create button, PC-DMIS averages all of the input centroids and displays a set marker along with the new ID for the set.
If you select inappropriate feature types, PC-DMIS displays this message on the Status bar:
"Cannot construct [feature]. Combination of input features not accepted."
To construct a feature set:
Access the Construct Feature Set dialog box (Insert | Feature | Constructed | Set).
Select the features you want in your feature set.
Click the Create button. The new feature set is given a feature ID and is placed in the Graphic Display window.
The Edit window command line for a sample Surface Construction
would read:
feature_name=FEAT/SET,TOG1,
THEO/x_cord,y_cord,z_cord,i_vec,j_vec,k_vec,
ACTL/x_cord,y_cord,z_cord,i_vec,j_vec,k_vec,
CONSTR/TOG2,feat_1, feat_2, feat_3...
TOG1= POLR or RECT
TOG2 = SET
The first three lines that display in the Edit window are the same for constructed sets. The fourth line is slightly different, according to the number of features used in the set.
There are currently two uses for sets in PC-DMIS for Windows:
More: