Select the Edit | Markings | New Marked Set option, or double-click anywhere in the Marked Sets window. The New Mark Set dialog box appears requesting a name for the new marked set.

New Mark Set dialog box
In Enter mark set label, type a name to identify the marked set. While there's no limit to the length of the name, short descriptive keywords improve readability.
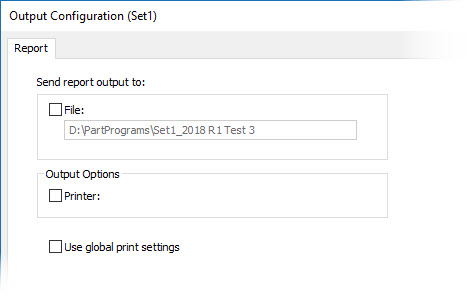
Click OK. Your new marked set is stored in the Marked Sets window. At this point, PC-DMIS also displays an Output Configuration dialog box. You can use this dialog box to define printing options specific to this marked set. (For information on the options in this dialog box, see "Setting Output and Printer Options for the Report Window" in the "Using Basic File Options" chapter.)

A sample Output Configuration dialog box for Set1
Define specific printing options for this set. If you want to use existing print options that are defined for your entire measurement routine, select the Use Global Print Settings check mark.
Click OK to close the dialog box.
Now, you need to select this Marked Set and add features to it. To do this, follow the procedure in the "To Add or Remove Features on Existing Marked Sets" topic.