Step 2 - Define the Mount Point
The mount point for the ACR3 Probe Changer is the location in front of your probe changer where the machine moves to before it picks up or drops off a probe. You should determine a location that avoids collision with the probe changer or part.
To define the mount point for your probe changer:
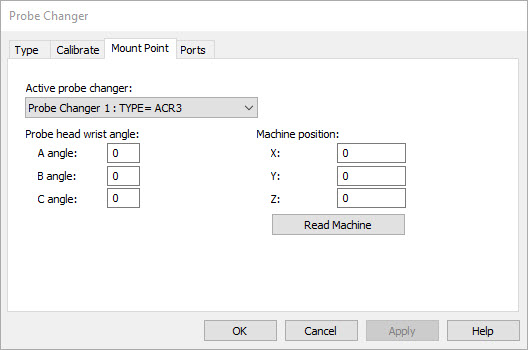
From the Probe Changer dialog box (Edit | Preferences | Probe Changer), select the Mount Point tab.
Probe Changer dialog box - Mount Point tab
From the Active probe changer list, select TYPE=ACR3.
If necessary, alter the probe head wrist angles for A angle, B angle, and C angle. These values are required when you change probes in the probe changer. If an angle is not available in the probe head, the value for that angle should be 0 (zero). Before calibration, you need to set these values because part of the calibration procedure includes rotation of the probe head to these angles. You need to use a calibrated probe rotation that ensures the probe has the ability to move in and out of the probe changer during the necessary steps of the probe changer calibration procedure. After calibration, if you change the angles, PC-DMIS displays a warning message to inform you that recalibration is needed.
Use your jog box to manually move your machine to the desired mount point position.
Click the Read Machine button to populate the X, Y, and Z machine position values with the current position. You can also manually type these values.
Click Apply to save your changes.
In the next step, you define the ports.