Step 4 - Prepare for Calibration
To begin the calibration process for the TESASTAR-PR / HR-P Probe Changer:
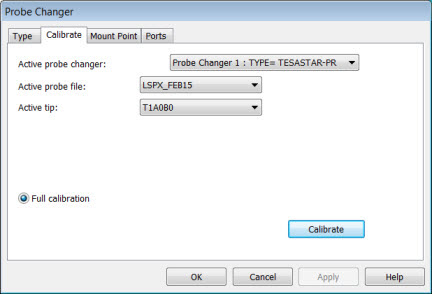
Select the Calibrate tab in the Probe Changer dialog box (Edit | Preferences | Probe Changer):

Probe Changer dialog box - Calibrate tab
Click the Calibrate button. If the proper probe assembly is not currently loaded, the following message appears:
Your probe does not appear to contain a TESASTAR_MP component. You must use a TESASTAR_MP probe for this calibration.
If this is the case, it is necessary to load the proper probe components and start the calibration again.
The Active probe file and Active tip items both default to the current measurement routine settings. If needed, change these to the probe and tip that you intend to use for the probe changer calibration.
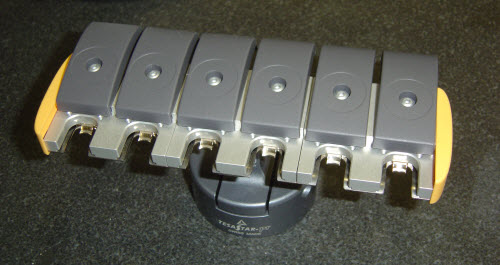
Open the lids on each port by sliding them back until they click into place.
Please open all the probe changer lids and remove all probes from the rack before proceeding with any measurement.
Prompt to open port lids prior to calibration

Opened port lids prior to calibration
In the next step, you take the first manual hit.