Use one of these methods to create a MOVESET command in the Edit window:
Method 1
Insert Move Points in the Edit window. To insert a Move Point, see "Inserting a Move Point Command".
Select the Move Points that you want to add to the MOVESET command.
Right-click the selected Move Points and click the Convert to MoveSet option.
Method 2
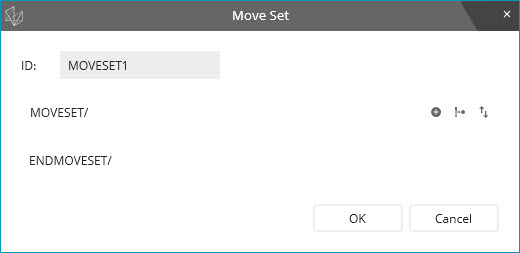
Open the Move Set dialog box ( Insert | Move | Moveset).
Move Set dialog box
From the Move Set
dialog box, click the Add  button to open the Add Move Point dialog box.
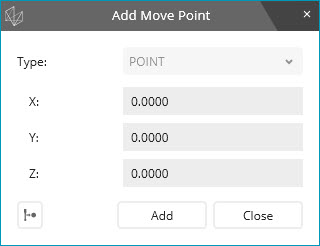
Add Move Point dialog box
From the Add Move Point
dialog box, type the X, Y, and Z values in the X,
Y, and Z boxes
and then click Add. You can also click the
Read Machine Position  button or press the Print button on the
jog box to add Move Points at the current tip position.
button or press the Print button on the
jog box to add Move Points at the current tip position.
You can add multiple Move Points and then click Close to return to the Move Set dialog box.
From the Move Set
dialog box, click the Read Machine Position
button to add a Move Point at the current machine
position.
To arrange Move Points in a specific order,
click and drag a Move Point to a desired location. To reverse the
order of an entire set of Move Points, click the Reverse
![]() button.
button.
From the Move Set dialog box, click OK.
Click the Cancel button before you click the OK button to close the dialog box without inserting a MOVESET command.
Editing a Moveset Command
To edit a MOVESET command, follow these steps:
Place your cursor on the command, right-click on it, and select Edit to open the Move Set dialog box.
Select a MOVESET command from the MOVESET/ ENDMOVESET/ area.
To open the Edit Move Point
dialog box, click Edit ![]() or double-click on the MOVESET
command.
or double-click on the MOVESET
command.
To remove a MOVESET
command, click ![]() .
.