To calibrate the gripper, open the Calibrate Columns tab in the Fixturing Setup dialog box. For details on how to calibrate fixturing components, see the topic "Calibrating Fixturing Components in PC-DMIS".
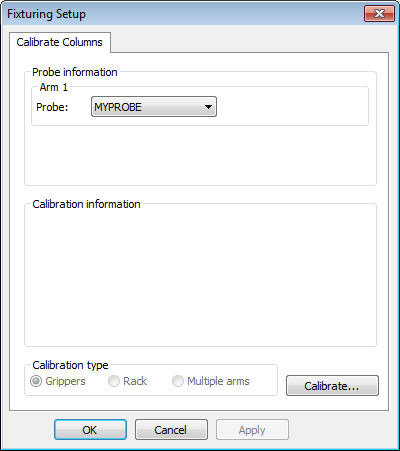
Fixturing Setup dialog box - Calibrate Columns tab
Follow this procedure to calibrate your grippers:
Select the probe file from the Probe list in the Probe Information area.
Click the Calibrate button. The machine loads the correct tip and then moves to the gripper mount position.
The calibration process begins with a prompt for you to load the gripper. Mount the gripper on the machine. Click OK to proceed.
The calibration process continues with a prompt for you to load the column on the gripper. Manually load the column onto the gripper and then click OK to proceed. The machine moves again back to the gripper mount position.
The calibration process continues with a prompt for you to unmount the gripper. Manually unmount the gripper and click OK to proceed.
The probe changes to the selected measure tip, and PC-DMIS asks you to take a single hit on the column sphere. Take a single hit on the column sphere.
PC-DMIS automatically measures the sphere in DCC mode. The gripper calibration is complete.