To set the continuous scanning modes for the AT403, AT500, and AT9x0 laser trackers, follow these steps:
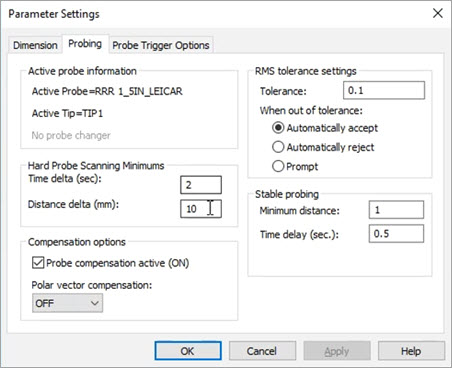
From the Parameter Settings dialog box (Edit | Preferences | Parameters), click the Probing tab.
Parameter Settings dialog box - Probing tab
In the Hard Probe Scanning Minimums area, set one or both values:
Time delta (sec) - Used for Continuous Time mode
Distance delta (mm) - Used for Continuous Distance mode
Click Apply to save the settings and then OK to close the dialog box.
From the Tracker Operation toolbar, choose the mode:
 Continuous Distance
 Continuous Time
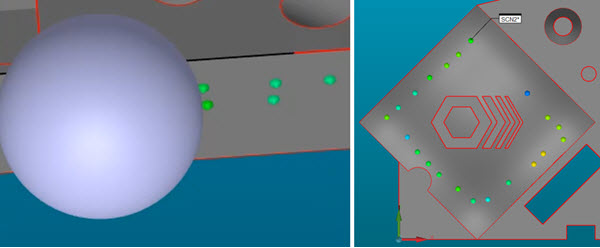
(Optional) If you are aligned to the physical part and a CAD model, from the Probe Mode toolbar (View | Toolbars), turn on Find Nominals from CAD Mode. This step allows each scanned point to have a nominal value and also allows you to view the hits as they are scanned.
From the Quick Start window, select the type of feature you wish to scan (for example, Plane or Scan).
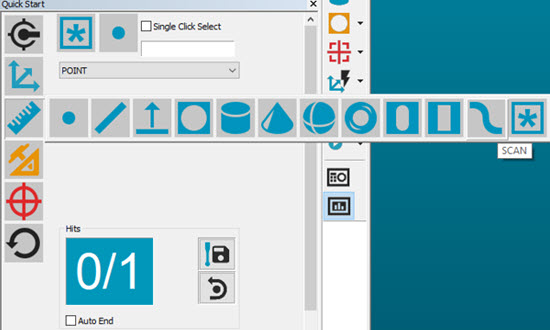
Quick Start window for continuous scan mode
The scan process is: Start the scan, scan the feature, stop the scan, end.
To do this:
Press Ctrl + I to
start the scan and Ctrl + I to stop the scan or use the Continuous
Scan button ( ) on the Tracker
Measure toolbar.
) on the Tracker
Measure toolbar.
For the AT403 tracker, use the A button on the remote control to start and stop the continuous scan.
For the AT500 tracker, use the A button on the remote control to start and stop the continuous scan.
For the AT960 T-Probe, hold down the D button for the continuous scan.
If you do not select Continuous Scan mode, the D button defaults to Continuous Distance mode.
When you finish scanning a feature (such as a circle or plane), compensate correctly and then press the END button.
You can also insert the Continuous Distance and Continuous Time into the measurement routine as Tracker commands. During execution, you can start, stop, and end the continuous scan as described above.
