
To measure with the MI.Probe, follow these steps:
Ensure that you have the required probe tip attached and you have the MI.Probe turned on. For details on how to determine the status of the MI.Probe, see the "MI.Probe LED Display" area of the "Working with the MI.Probe" topic.
When the AICON MoveInspect Pilot window displays your probe that means that the system recognizes it.
Aicon MoveInspect Pilot window example
PC-DMIS automatically detects the MI.Probe and probe tip diameter. You can see the MI.Probe tip on the Settings toolbar (View | Toolbars) and in the Graphic Display window.
If the MoveInspect system does not detect the machine within a specified time, PC-DMIS displays a timeout error message that says "Machine not responding".
You can change the timeout value with the ConnectionTimeoutInSeconds entry. For details, see "ConnectionTimeoutInSeconds" in the PC-DMIS Settings Editor documentation.
Position the probe at the measurement location.
Take a hit or execute a scan. For details on how to measure with the MI.Probe and the probe's button assignments, see the "MI.Probe Button Assignments" area of the "Working with the MI.Probe" topic.
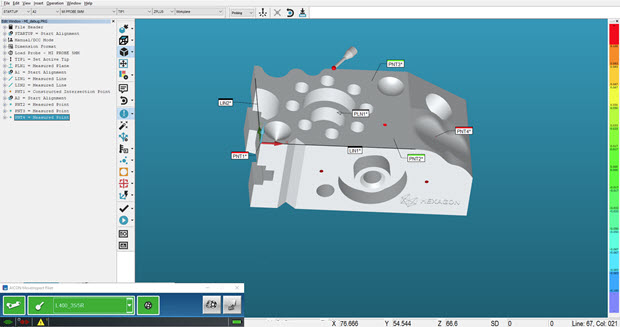
Example of a completed MoveInspect measurement