This topic describes the similarities and differences
between the HP-L-5.8 sensor for CMM and the HP-L-10.6 sensor for DCC.
The shape of the sensor is different.
The related components in probe.dat are different.
The standoff distance, and the sensor's field
of view (that is, the sensor’s geometry) are different:
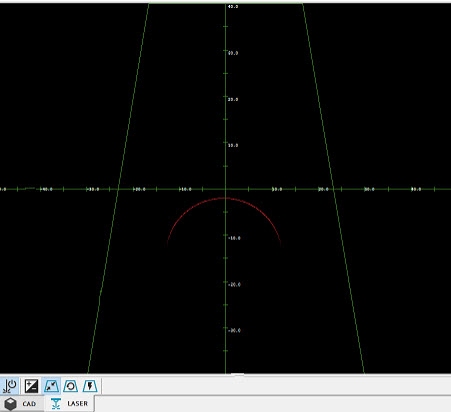
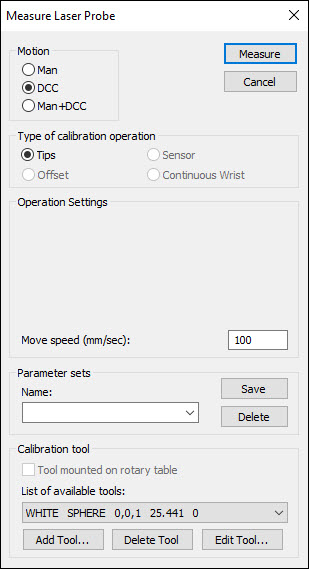
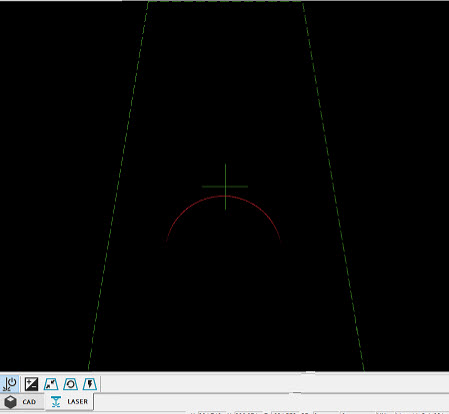
Graphic Display window - Laser tab
For the HP-L-5.8, the AutoGain
button appears in the Laser View in the Graphic Display window. When
the HP-L-5.8 sensor is in range on a part, you can select the button
to learn the best gain setting and update the Probe Toolbox accordingly.
You can also use this functionality while you set up laser Auto features
and laser scan properties. For more information about how to set up
these properties, see "Creating
Auto Features with a Laser Sensor" and "Scanning
Your Part Using a Laser Sensor" in the PC-DMIS Laser documentation.
The default value for the Increment
2 option (the increment distance between scan lines) in the
Scan parameters area for a Patch
Advanced Scan is 45 mm for the HP-L-5.8 (the HP-L-10.6 has a different
default value).
The differences on the Laser Scan Properties tab in the Probe Toolbox
in the Auto Feature dialog box are as follows:
The HP-L-5.8 has only one scan zoom state,
the dimension of the field of view is fixed. (There are no green
option buttons on the Laser Scan Properties
tab as there are for the HP-L-10.6 and HP-L-20.8.)
For the HP-L-5.8, there are five sensitivity
modes (1, 2,
3, 4, and
5) in the Gain
list on the Laser Scan Properties tab.
When you select a mode, the image in the Laser View updates in
real-time. You can also select the Quality
Filter icon next to the Gain
list to enable or disable the Quality Filter mode.