Probe Toolbox - Hit Targets tab

Probe Toolbox - Hit Targets tab
This tab only appears when you define and use a supported vision probe.
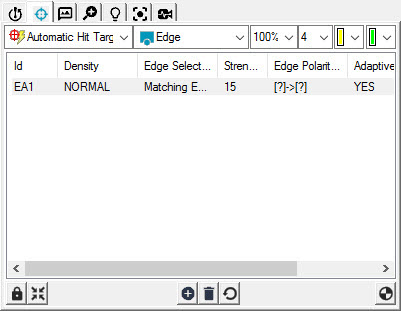
The Hit Targets tab shows the edge detection and focus parameters that will be used to measure a feature.
When using a vision probe, you will want to adjust and test your targets. This option also allows you to split the default target into sub-targets, each with its own set of parameters. For example, you can measure a circle with the default single target, or you can split the circle into individual arcs, each with its own set of target parameters. These target parameters include edge detection method, illumination, point density, and so on.


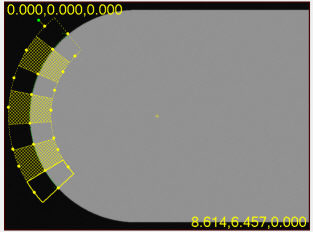
An example arc showing seven targets, with four active (Normal) target regions. Notice that each target in the targets list has its own set of target parameters.
PC-DMIS displays feature targets and their associated parameters as a row in the tab's target list. You can define more than one target. If you select one or more targets from this list, you can see them in bold formatting in the Vision tab of the Graphic Display window.
Double click on the items in the list to change the parameters for a target. You can change multiple targets at the same time by selecting multiple target rows in the Probe Toolbox and then right clicking.
PC-DMIS displays targets in both the Vision tab and the CAD tab. While it’s possible to size the targets in either view, the targets are two dimensional so it's easier to do this on the Vision tab which also uses a two-dimensional display of the part.
More:
Measuring Features Using a Vision Probe
Gage Hit Target Feature Parameters
Manual Hit Target Feature Parameters
Automatic Hit Target Feature Parameters
Optical Comparator Hit Target Parameters