
To use the Target Selection method to add a feature to your measurement routine, use the Vision tab in the Graphic Display window to place target points. The following steps show how to add a circle feature to your measurement routine using this method:
Access the Auto Features toolbar.
Click the Circle button. The Auto Feature dialog box appears for the circle feature.
Keep the Auto Feature dialog box open and select the Vision tab of the Graphic Display window.
Click three points along the edge of the desired circle. With each click, a red target anchor point appears on your image. You can also double-click on the edge for auto detection. Other features may require more or fewer clicks. See "Required Clicks for Supported Features".
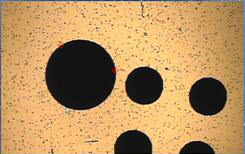
Selecting a circle from the Vision tab
The Target for the feature appears in the Vision tab once you have placed the required number of anchor points for that feature (or double clicked to detect the edge). See "Required Clicks for Supported Features".
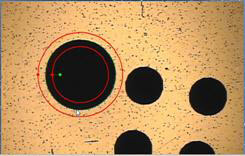
Target shown for circle feature
PC-DMIS Vision automatically places the nominal data for the feature into the Auto Feature dialog box.
Adjust the lighting and magnification to the desired level using the pendant knob control or the Probe Toolbox.
Adjust the nominal information in the dialog box to match the theoretical values of the feature.
Click Create on the Auto Feature dialog box to add the feature to the measurement routine.