Start PC-DMIS or PC-DMIS Planner.
Load a measurement routine.
Double click the 3DxWare icon  located in your System
Tray. The 3Dconnexion Properties dialog
box opens showing a graphical depiction of your motion device.
located in your System
Tray. The 3Dconnexion Properties dialog
box opens showing a graphical depiction of your motion device.
This topic describes how to map PC-DMIS or PC-DMIS Planner functionality to the available buttons on 3Dconnexion 3D Mouse devices by using the 3Dconnexion Properties dialog box.
Start PC-DMIS or PC-DMIS Planner.
Load a measurement routine.
Double click the 3DxWare icon located in your System
Tray. The 3Dconnexion Properties dialog
box opens showing a graphical depiction of your motion device.
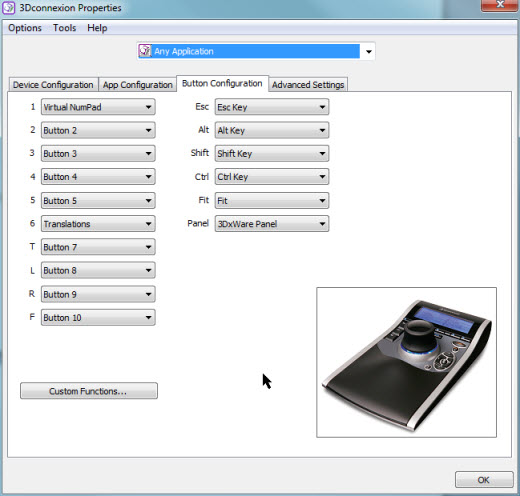
3Dconnexion Properties dialog box showing a SpacePilot Device
Select the correct configuration name from the Application list in the top-center of the 3Dconnexion Properties dialog box. If a relevant name doesn't appear in the list, you probably need to add it to the 3DxWare configuration file. See "Editing the 3DxWare Configuration File".
To change map functionality to a button, select the button’s list, click the down arrow icon to its right, and select the new function from the list.
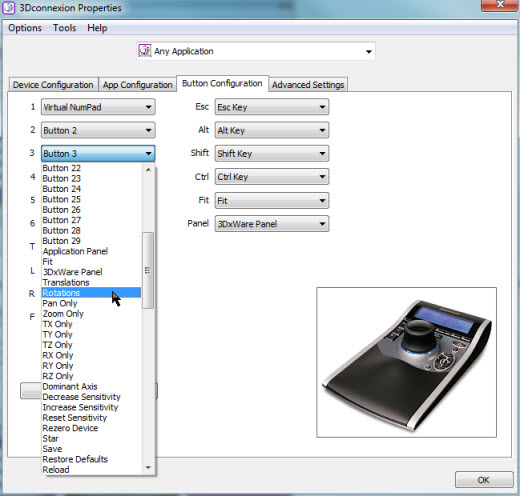
3Dconnexion Properties dialog box for SpacePilot Showing Mapping of a Button
If the Configuration | Automatically Save Configurations menu item is checked, your changes will be saved in your current configuration file.
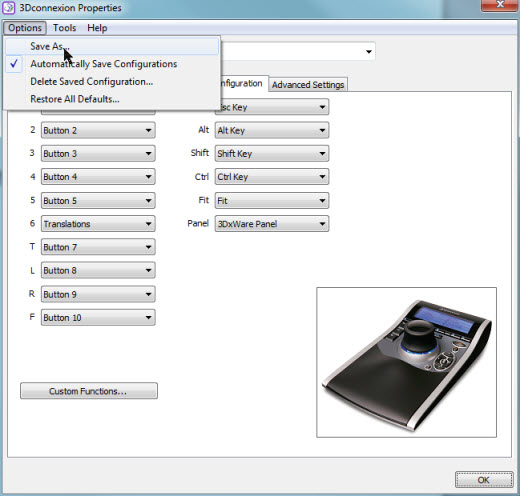
3Dconnexion Properties dialog box with the Automatically Save Configuration Menu Checked
Make any other changes as needed.
Click OK to accept your configuration and close the dialog box.