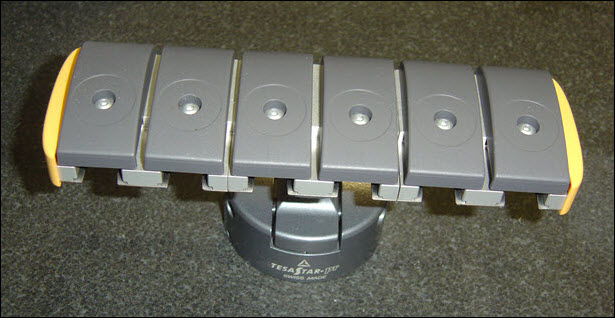
The calibration process for the TESASTAR-PR / HR-P Probe Changer represents the steps that you would take to prepare to use any of the probe changers that PC-DMIS supports. The process discussed here is specific to the TESASTAR-PR / HR-P Probe Changer.
Inserts or extensions are not used for any of the port positions.

TESASTAR-PR / HR-P Probe Changer rack
This probe changer MUST be mounted on the machine table parallel to a machine axis, such as the X or Y axis. For mounting instructions, consult the documentation that came with your probe changer.
To calibrate your probe changer:
Step 1 - Select the TESASTAR-PR / HR-P Probe Changer
Step 2 - Define the Mount Point and Wrist Angle
Step 4 - Prepare for Calibration
Step 5 - Take the First Manual Hit
Step 6 - Take the Second Manual Hit