When you use a portable arm or laser tracker to scan, PC-DMIS automatically rotates and zooms the pointcloud in real-time in the Graphic Display window to show the proper view.
This is done with the Auto Rotate check box and the Zoom options located on the Laser Scan Display Properties tab of the Probe Toolbox (View | Other Windows | Probe Toolbox).
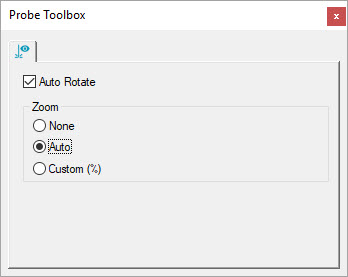
Probe Toolbox - Laser Scan Display Properties tab with Auto Rotate and Auto Zoom options selected
PC-DMIS enables the Auto Rotate and the Auto option in the Zoom section by default.
Auto Rotate check box - When you select this check box, the pointcloud automatically rotates in the Graphic Display window based on the laser line orientation. The rotation occurs even when you are not scanning. This allows you to position the scan line on the part before triggering a scan pass. When disabled, no rotation occurs in the Graphic Display window while laser scanning.
Zoom section - You have three options:
None - This disables auto zoom. The software uses the last manual user-defined zoom setting to show the pointcloud scan in the Graphic Display window.
Auto - If you select this option, the Graphic Display window zooms into a close-up view that is centered in the middle of the laser scan line. As you scan more of the part, the Graphic Display window zooms out to show the collected pointcloud data.
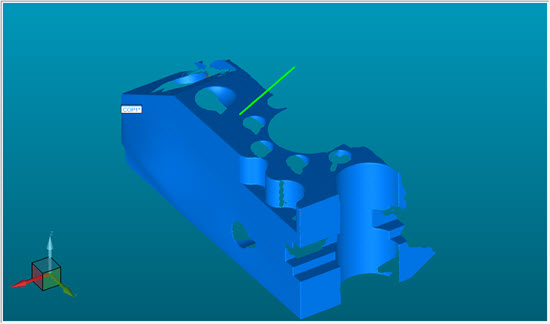
Graphic Display window showing the scan line with Auto Zoom option selected
Custom (%) - If you select this option, you can set the zoom percentage. 100% indicates the zoom factor is set using the actual part size (1:1 relationship). You can set the zoom percentage larger to a get a close-up view of the scan, or smaller to see more of the pointcloud at a reduced size. For example, 50% would be half size.
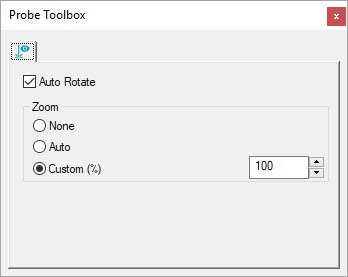
Probe Toolbox - Laser Scan Display Properties tab with Auto Rotate and Custom (%) Zoom options selected
More: