Running the Measurement Routine
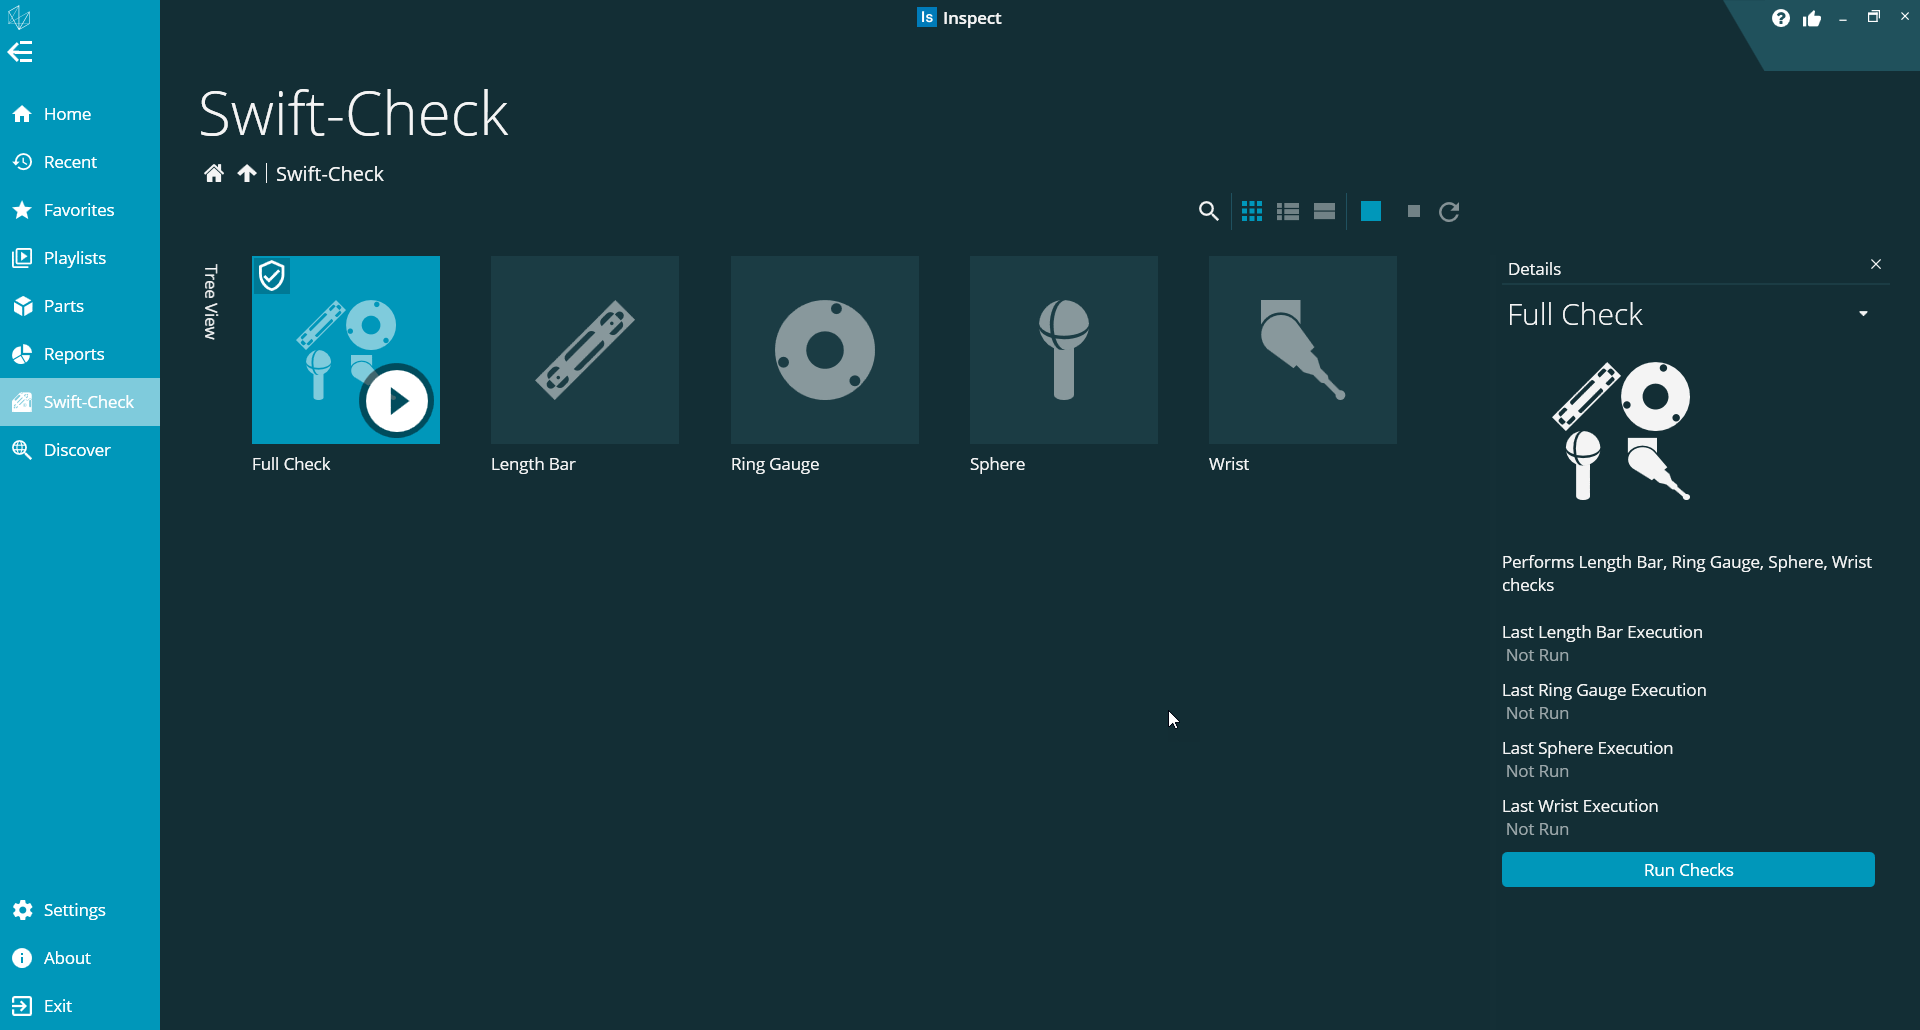 |
Once you have built and qualified your probe, start Inspect. From the left sidebar, select the Swift-Check option to show the Swift-Check screen with its measurement options.
Note
If you attempt to run a measurement routine without configuring your Swift-Check settings, Swift-Check prompts you to enter your settings. For more information, see "Method 2 (From the Swift-Check Screen > Run Checks > Review it Now)".
For each type of check that you run, the Swift-Check measurement routine generates a .csv file. You can import these files into Excel or most statistical analysis software packages. Each time the Swift-Check program runs, it uses these files to monitor changes. The default location for the .csv files is C:\Users\Public\Documents\Hexagon\SwiftCheck\Results.
To set or change the location of the .csv files:
Click the … button on the right-hand side of the Settings screen.
Enter all the required changes.
Click Save Changes.
If you do not wish to save your changes, click Cancel Changes.
After you save or cancel, Swift-Check returns to the main screen.
|
To run a Swift-Check measurement routine:
Select one or more Swift-Check tiles on the main screen.
Click the Run Checks button.
You can select multiple Swift-Check tiles using the standard Windows click + CTRL or click + SHIFT rules. The checks execute in the order the tiles appear on the Swift-Check screen from left to right.
 |
The Length Bar check routine measures the length bar length three times in several orientations. This routine generates a standard PC-DMIS or QUINDOS report that shows each measurement and assesses linear repeatability for each orientation. It also calculates the average of the three measurements in each orientation to evaluate the CMM axes in each measuring plane (X-Y, Y-Z, Z-X).
The report displays a PASS or FAIL statement for each evaluation. If the average of the first set of three measurements differs from the average of the second set of three measurements by more than twice the calculated tolerance, the test fails. The calculated tolerance is based on the length bar size, uncertainty values, and CMM specification depending on the type of probe you are using.
Swift-Check presents you with various on-screen prompts that instructs you how to position the Swift-Check plate and where to position the probe. After you place the Swift-Check plate in the specified orientation, Swift-Check prompts you to position the probe in the start position. Once you have done this, click OK. The CMM then “finds” the hole and proceeds to measure the length bar. The CMM pauses and Swift-Check prompts you when it is time to re-orientate the Swift-Check plate. This continues until all six orientations have been measured.
Please pay careful attention to the images and prompts.
Inspect writes the average length bar size for each orientation to the LENGTH BAR_RESULTS.csv file, along with the time, date, and the temperature reading, if you selected it.

The Ring Gauge check routine measures the diameter and circularity of the ring gauge. If you have an analog (scanning) probe, then it also performs a scan. The routine measures and scans at mid-height and presents the results as a standard PC-DMIS or QUINDOS report.
At the start of the measurement, Swift-Check prompts you to position the Swift-Check plate on the CMM and to put the probe roughly in the center of the ring gauge. Once you have done this, click OK, and the CMM “finds” the ring gauge before proceeding with the measurements.
Inspect writes the ring gauge measurements to the RING_RESULTS.csv file, along with the time, date, and, if you selected it, temperature.
 |
The Sphere check routine measures 25 points on the sphere and evaluates the probing repeatability. If you have an analog (scanning) probe, then it also performs a scan around the equator of the sphere and reports diameter and circularity. The routine presents the single probing results (and scan results if you have any) as a standard PC-DMIS or QUINDOS report.
At the start of the measurement, Swift-Check prompts you to position the Swift-Check plate on the CMM and to manually probe a single point at “top dead center” on the sphere. Once you have done this, click OK, and the CMM “finds” the sphere before proceeding with the measurements.
Inspect writes these measurements to the SPHERE_RESULTS.csv file, along with the time, date, and, if you selected it, temperature.
 |
The Wrist check routine measures 25 points on the sphere with each of the wrist-calibrated positions — A0/B0, A90/B0, A90/B90, A90/B180, and A90/B-90. The diameter and X, Y, and Z coordinates for each measurement are presented in a standard PC-DMIS or QUINDOS report. The routine assesses the range of measurements to give a PASS or FAIL statement. This assessment looks for the largest range in X, Y, or Z, and the check gives a FAIL result if the range exceeds twice the calculated tolerance.
At the start of the measurement, Swift-Check prompts you to position the Swift-Check plate on the CMM and to manually probe a single point at “top dead center” on the sphere. Once you have done this, click OK , and the CMM “finds” the sphere before proceeding with the measurements.
Important
Please ensure you position the plate in such a way that the sphere is located roughly in the centre of your CMM’s measurement volume, as the probe needs access to the sphere in each of the wrist positions.
Note
If you are using one of the larger probe bodies such as an LSPX-3, you may need to raise the sphere slightly. An additional swift-fix stand-off is supplied for this purpose.
Inspect will write the measurements to the WRIST_RESULTS.csv file, along with the time, date, and, if you selected it, temperature.