How To Set an Offset Using a Midpoint
Instructions | ||||
|---|---|---|---|---|
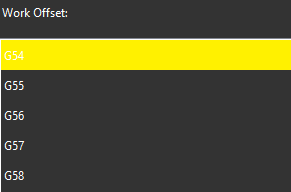
1 | Select the work offset to set.
| |||
2 |
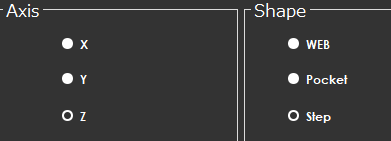
From the Shape area, select the type of midpoint to measure. The options are WEB, Pocket, and Step. From the Axis area, select the X, Y, or Z axis you want to measure. Note that the icon does not change when you select a different axis. The approach you take when you measure must be appropriate to the selected axis. | |||
3 Measuring a Web | ||||
3.1 |
| Position the probe next to the first point and press the Read Position button.
| ||
3.2 |
| Position the probe next to the second point and press Read Position button.
| ||
3.3 |
| Position the probe to a safe point and press the Read Position button.
| ||
4 Measuring a Pocket | ||||
4.1 |
| Position the probe next to the first point and press the Read Position button.
| ||
4.2 |
| Position the probe next to the second point and press Read Position button.
| ||
5 Measuring a Step | ||||
5.1 |
| Position the probe next to the first point and press the Read Position button.
| ||
5.2 |
| Position the probe next to the second point and press the Read Position button.
| ||
5.3 |
| Position the probe further away from the second point and press the Read Position button.
| ||
6 |
| Position the probe for automatic measurement and press the Execute button. Start the monitor macro on the machine. NC Gage performs the appropriate action:
| ||
7 | Review the measured values on the screen and set the desired target values for the offset.
| |||
8 |
| Press OK to set the selected work offset. | ||


Additional Notes
Ensure the NC does not show the Work Offset screen.
On some controls, NC Gage cannot write offsets if the screen is open.