NCG Appendix B – Installing the Software
Standard Installation
The following instructions describe the standard installation process. This is suitable for most installations. Additional options are available using the “Custom” installation.
Installation Overview
The standard installation is straightforward, and applies the default settings to the installation of NC Gage as follows:
Item | Default |
|---|---|
Data Drive | D:\ |
Installation Path | C:\Program Files (x86)\Hexagon |
Languages | All language support files |
Installation Requirements
The following space requirements must be met to install NC Gage
Location | Required Space |
|---|---|
USB / Installation Media | 400MB |
Installation Directory | 400MB |
Installation Instructions
When the NC Gage installer starts, it displays a progress bar as it unpacks the installation files.

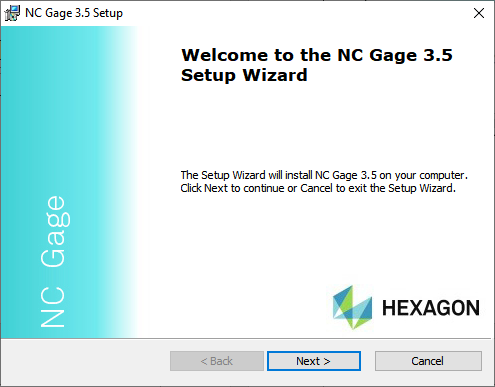
Once the Q-COM components have been successfully installed, a welcome dialog appears. Click the Next button.
From the next dialog box, select the type of installation.

For most installations, click the Typical option. To change the installation location or to install supported languages, click the Custom option.
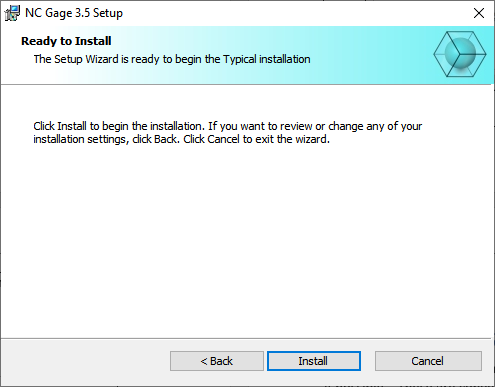
Next, click Install to begin the installation of NC Gage.
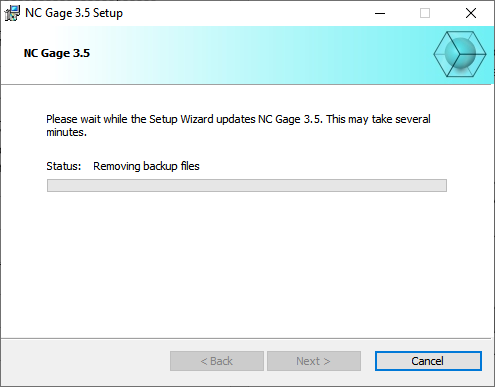
The next dialog box shows the progress of the installation. Click Cancel at any time to stop the installation.
When the installation is complete, the installer displays a final dialog box that allows you the option to view the Release Notes and finish the installation.

You can now click Finish to complete the installation of NC Gage. You must now configure NC Gage with the Config Tool software.