How To Set an Offset Using an Inside Corner
Instructions | ||||
|---|---|---|---|---|
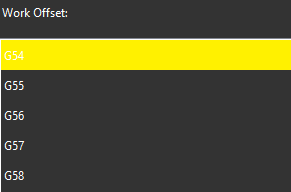
1 | Select the work offset to set.
| |||
2 |
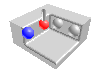
| Position the probe next to the first point on the first side, as shown below and then press Read Position button.
| ||
3 |
| If you need to correct the position, press the Remove Last Position button to cancel the previously read location, then repeat the previous step. | ||
4 |
| Position the probe next to the second point on the first side as shown below, and then press the Read Position button.
| ||
5 |
| Position the probe next to the first point on the second side as shown below, and then press the Read Position button.
| ||
6 |
| Position the probe next to the second point on the second side as shown in the diagram, and then press Read Position button.
| ||
7 |
| Position the probe at a safe position and press the Execute button. Start the monitor macro on the machine. To locate the inside corner, NC Gage takes four points starting with the first point on the first side and ending with the second point on the second side. NC Gage then calculates the intersection point of the two sides. | ||
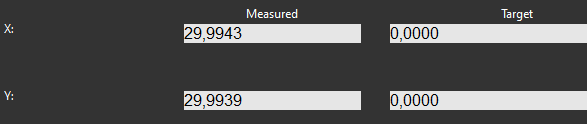
8 | Review the measured values on screen and set the desired target values for the offset.
| |||
9 |
| Press OK to set the selected work offset. | ||


Additional Notes
Ensure the NC does not show the Work Offset screen.
On some controls, NC Gage cannot write offsets if the screen is open.