How To Set an Offset Using a Plane
NOTE:
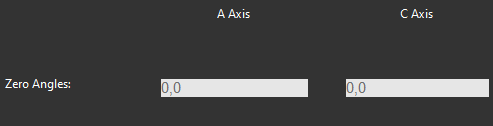
This function is only available on machines equipped with a Trunnion table.
Instructions | |||||
|---|---|---|---|---|---|
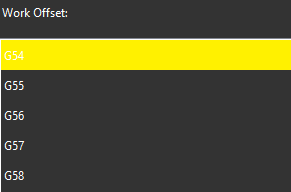
1 | Select the work offset to set.
| ||||
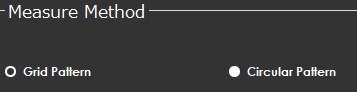
2 | From the Measure Method area, select measurement method.
| ||||
3 |
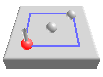
| Position the probe at the first point of the grid and press the Read Position button. |
| ||
4 |
| If you need to correct the position, press the Remove Last Position button to cancel the previously read location, then repeat the previous step. | |||
5 |
| Position the probe at the second point of the grid and press the Read Position button. |
| ||
6 |
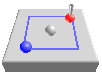
| Position the probe on the first point of the imaginary circle. |
| ||
7 |
| If you need to correct the position, press the Remove Last Position button to cancel the previously read location, then repeat the previous step. | |||
8 |
| Position the probe on the second point of the imaginary circle. |
| ||
9 |
| Position probe for automatic measurement and press the Execute button. Start the monitor macro on the machine. NC Gage starts at the first point and measures the plane in a square shape with two rows and two points per row by default. | |||
10 |
| Position the probe for automatic measurement and press the Execute button. Start the monitor macro on the machine. NC Gage measures the plane in a circular shape with five points on the circle. | |||
11 | Review the measured values on screen and set the desired target values for the offset.
| ||||
12 |
| Press OK to set the selected work offset. | |||


Additional Notes
Ensure the NC does not show the Work Offset screen.
On some controls, NC Gage cannot write offsets if the screen is open.